Add a creditor manually
Also see: Import creditors in bulk
Add a single creditor when you need to enter details one at a time — for example, a late-arriving creditor that wasn't on the ROCAP, or a one-off claim you want to capture by hand.
Before you begin
- You need Editor access.
Steps
-
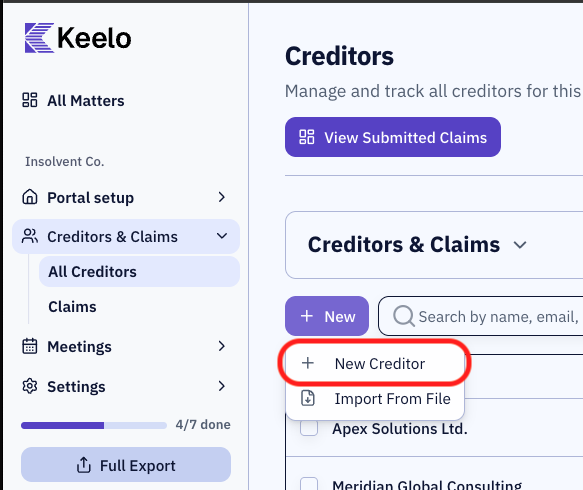
Open the appointment and navigate to Creditors & Claims → All Creditors in the sidebar.
-
Click the + New button (top-left of the page) and choose New Creditor.
-
The Create Creditor dialogue opens. Use the Is Individual checkbox at the top to switch between individual and company forms.
-
Fill in the details.
-
(Optional) Toggle Send welcome email with access code at the bottom of the form. If left off, you can send the email later from the Send Access Codes workflow.
-
Click Create Creditor.
The creditor appears in the table immediately. If you turned the welcome-email toggle on, the access code email is sent in the background.
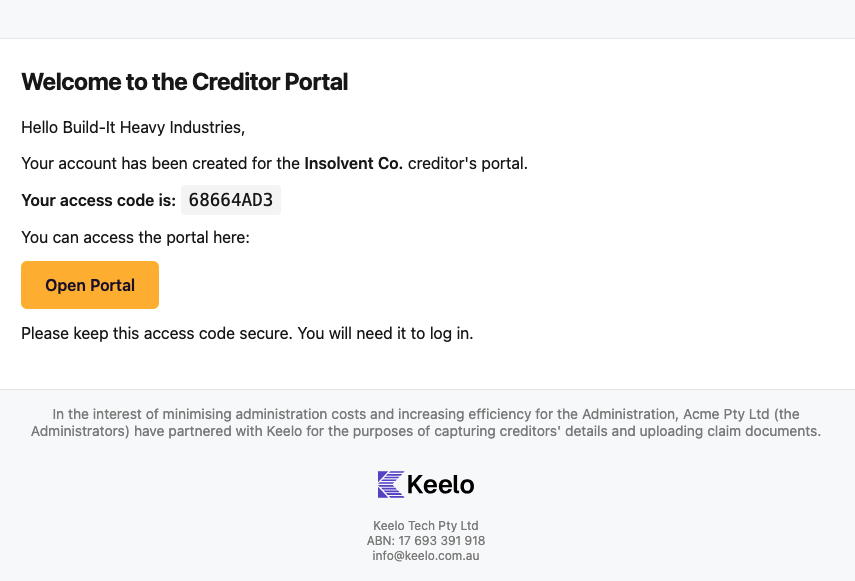
Welcome email preview
Below is an example of the welcome email that is sent to the creditor: